DIY – How To Paint Your Kitchen Cabinets
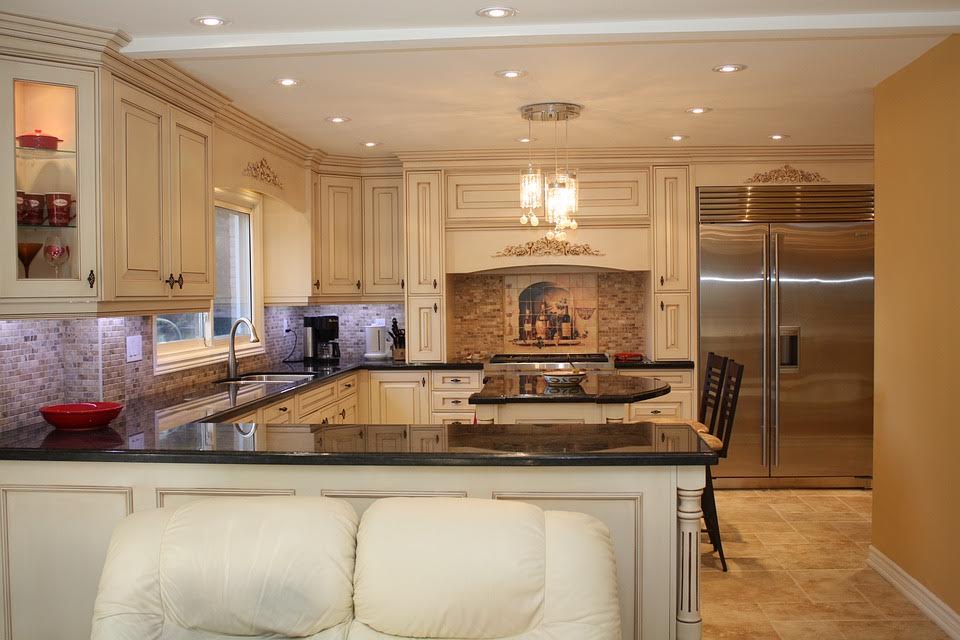
Your kitchen is a hub of your home – it’s where food is prepared and enjoyed, coffee and snacks consumed while catching up with your loved ones, homework done, etc., and you want this focal space to be efficient and look vibrant and pleasing.
But, your kitchen is tired, worn, and not so inviting, and remodeling is not possible right now.
The good news is, even just a fresh coat of paint for your kitchen cabinets can make them look new again – making the whole kitchen much more appealing.
If you are into DIY projects, or you’re on a strict budget, maybe you’ll want to paint your own kitchen cabinets.
We put together a list of things to keep in mind regarding how to paint kitchen cabinets and ways to accomplish it:
- Preparation
Careful preparation is essential to successful DIY kitchen cabinet painting.
Start with considering the style of your kitchen and play with different looks/colors for your kitchen cabinets that will nicely compliment your kitchen countertops, walls, and flooring.
Next, take into consideration the material your cabinets are made of – if it’s wood, wood-laminate, or metal, they can usually be repainted without problems. If they are plastic laminates, they tend to be more difficult to paint over and often require special paints and techniques.
Keep in mind that wood cabinets with raised panels, routed profiles or other architectural detailing need more time to prep and paint.
Once you’ve selected the paint or stain color, choose the method of applying it – by spraying, rolling or brushing, and whether you want a natural or synthetic bristle brush, or a foam brush. It will depend on the amount of woodwork you wish to paint and the type of paint or finish you choose.
Note: if the wood is warped or damaged, think about buy new unfinished doors and drawers and paint them together with your existing cabinets.
- Remove Cabinet Doors and Hardware
Remove the cabinet doors and drawers and number each door and its corresponding location. If you are painting only the drawer fronts, you don’t have to remove the slides, but if you need to remove them, mark them and their locations as well.
Remove all hardware (best if the hardware and screws are placed in plastic bags and stored inside the cabinets they were taken from, so they don’t get mixed up or the hinges may not line up properly when you reinstall them).
- Clean Surfaces
Clean all of the surfaces to be repainted, since grease, steam, and food splatters can commonly make kitchen cabinets quite dirty, with a solution made from one part tri-sodium phosphate and four parts water. Rinse thoroughly yet do not soak and allow to dry completely.
- Sand
Lightly sand the cabinet doors on all sides and faces, using a wood-sanding block to prevent rounding over the wood edges. If you’re repainting only the exterior of the cabinets, you don’t need to sand inside, but only the front surfaces and visible edges of the cabinet face frames. Mask off the interiors with painters’ tape for a clean finish.
When sanding, you don’t need to remove all of the old paint if it’s in good condition, so simply sand the surface to ensure the new paint has a smooth, clean base for better adhesion. Make sure you sand especially well all the worn areas of old finish, and over shiny areas to deglaze any existing finish.
If the old paint is flaking off, sand these areas to bare wood, paying attention to blend the edges of the old paint and the wood, so the new paint can lay flat. Also, spot-prime with a stain-killing primer or sealer before repainting.
Next, vacuum all the sanding dust from all surfaces, ideally using the pneumatic air compressor, to blow the dust out of crevices or molding details. Finish with wiping the areas to be painted with a tack cloth, as this will take care of any remaining sanding residue.
- Apply Primer
Apply an even coat of primer-sealer to all surfaces. Use a water-based finish, it’s quite easy to work with and provides an even, durable finish.
- Apply Paint
First paint the inside edges and openings of the face frames, then move to the outer cabinet sides, and lastly, do the face frame fronts.
Paint the cabinet doors and drawer fronts next, and any separate wood pieces or moldings, making sure to cover all raised or routed features, crevices, and corners (pay attention that paint does not accumulate in these spots).
When applying paint, use thin, light coats, as they leave less visible brushstrokes and dry more quickly. Be careful not to apply finish on densely, and stay away from too many brush strokes (they can create air bubbles in the finish, resulting in bumps and pits).
Two coats of quality paint is likely all you need. Before applying the next coat, wait at least four hours for the paint to dry. Then, re-sand all surfaces lightly, wipe away the dust with a tack cloth, and paint another coat. If your kitchen sees a lot of cooking, you may want to apply a third coat.
There you go – your quick guide to DIY kitchen cabinet painting.
If you don’t have the time or expertise, or simply don’t want to invest your energy into doing it yourself – you can always count on Home One skilled and experienced remodelers to paint your cabinets, or install new ones.
We invite you to give us a call so we can help you revamp your kitchen in Lancaster, PA today.